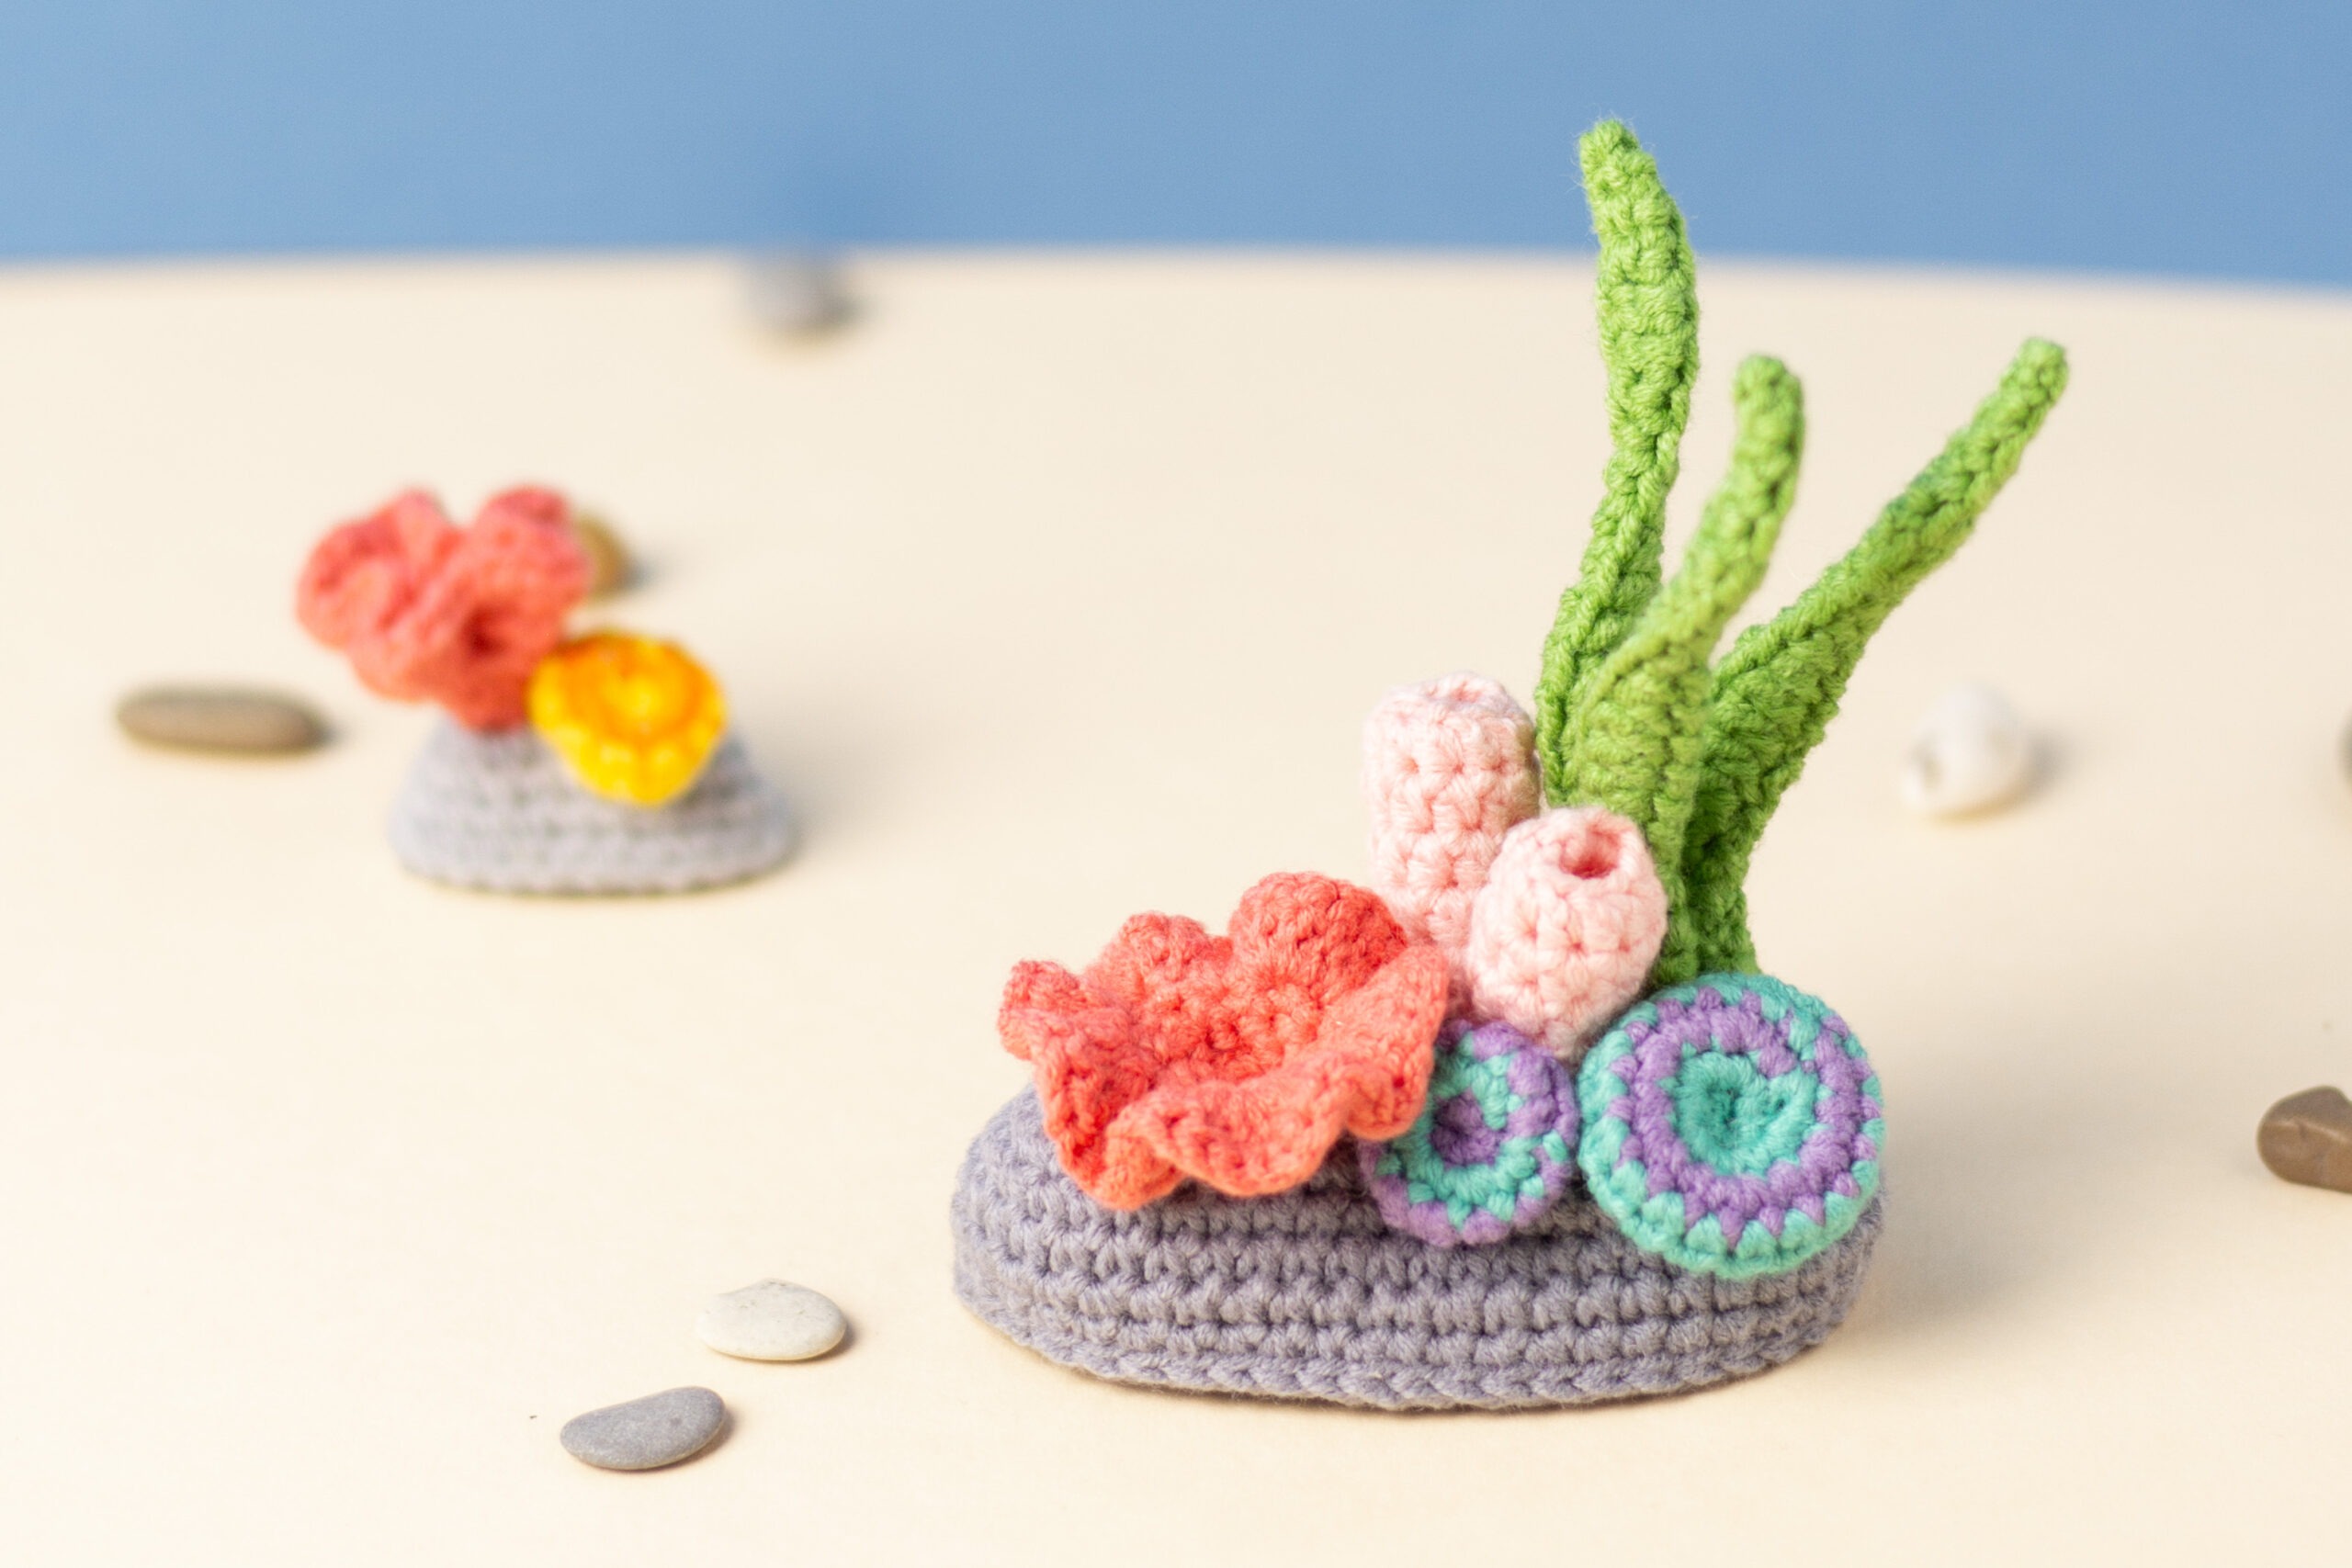
Free crochet pattern “Coral Reef”
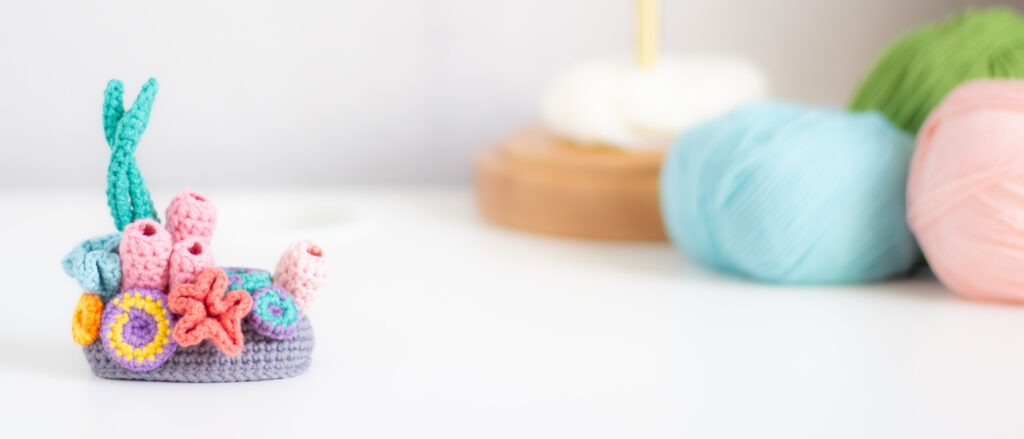

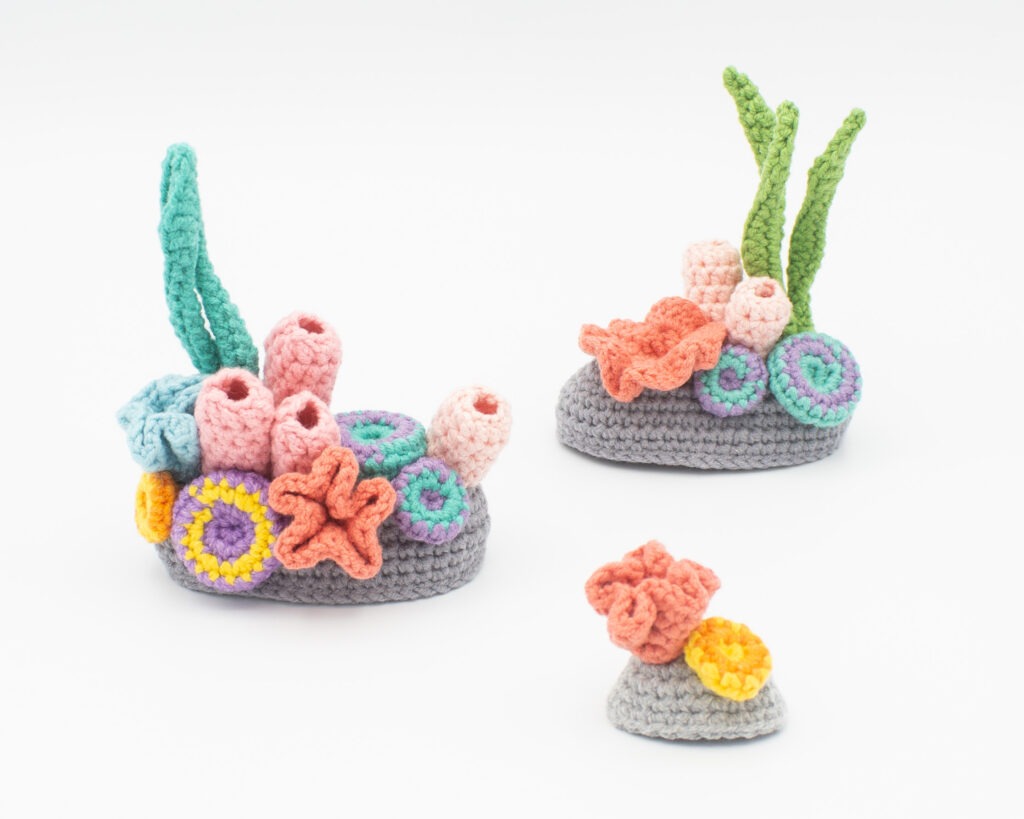
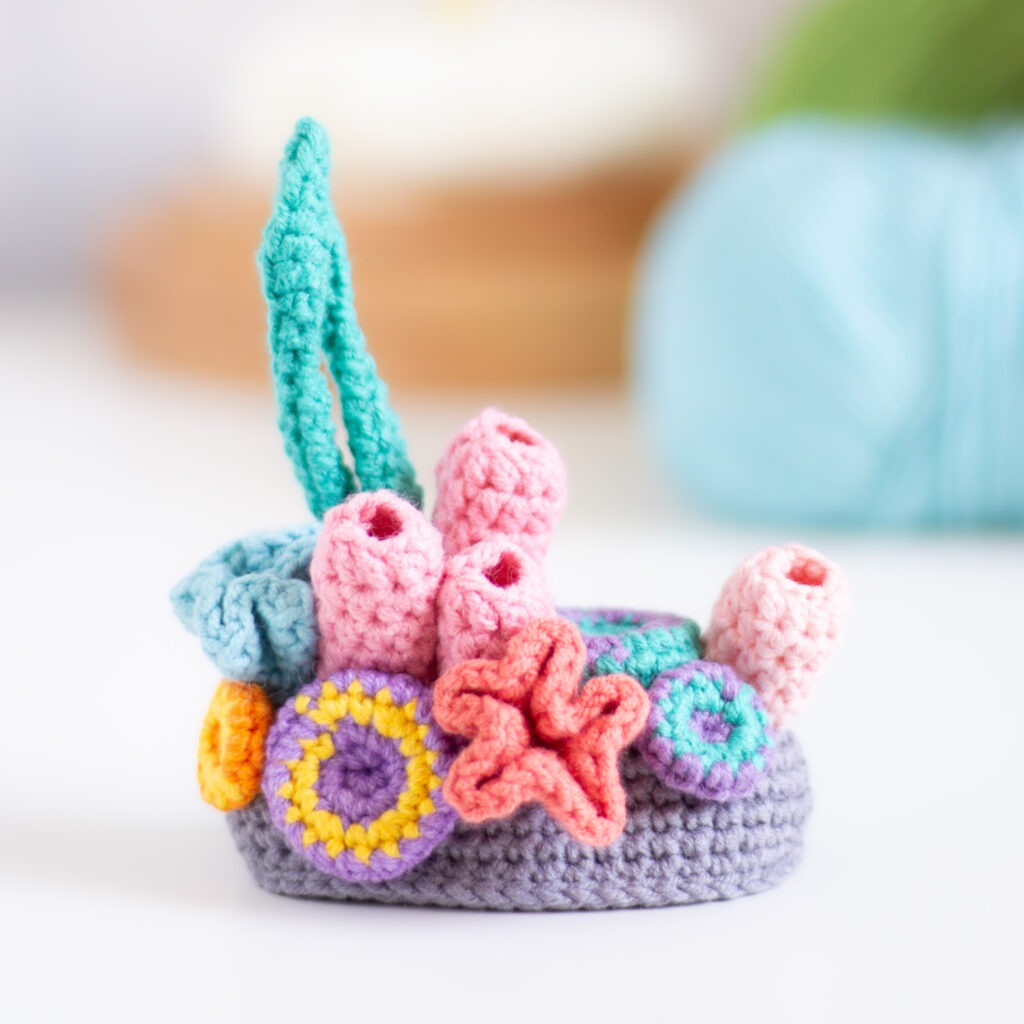
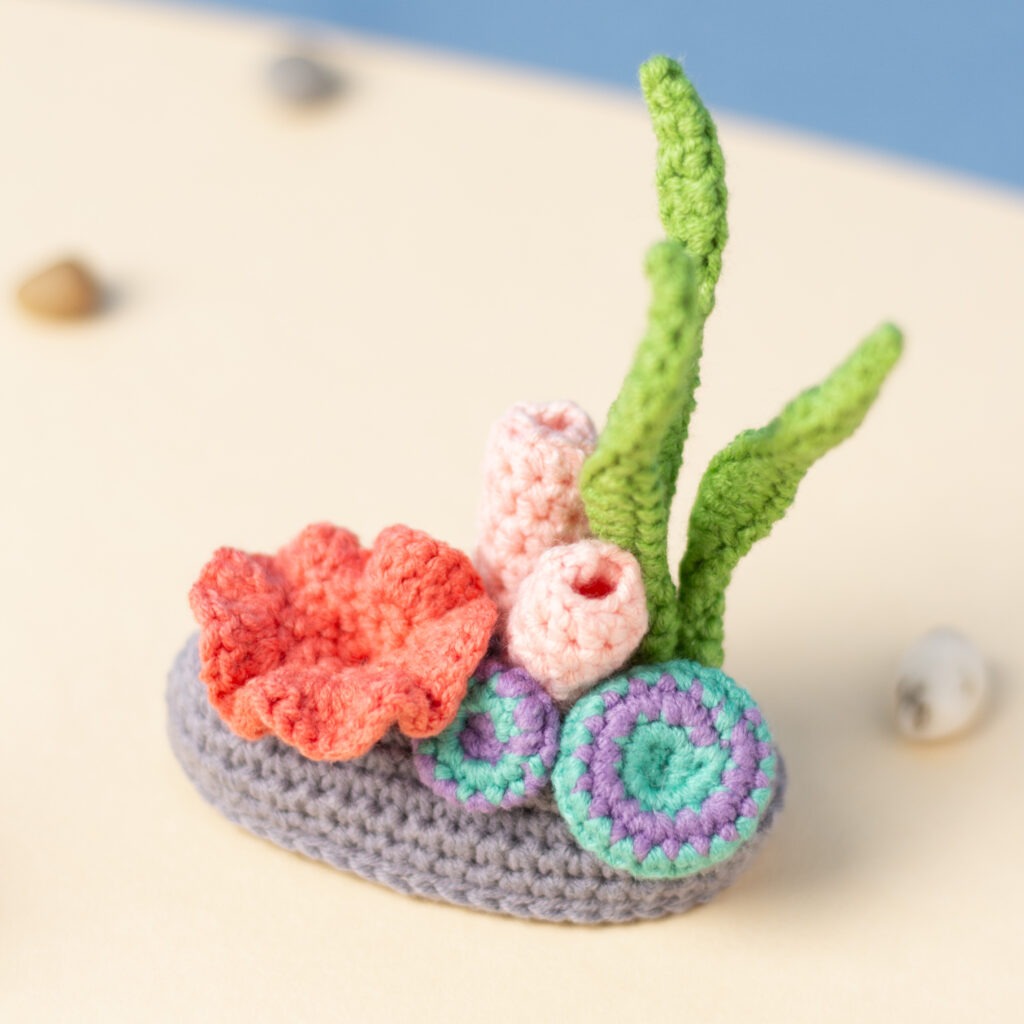
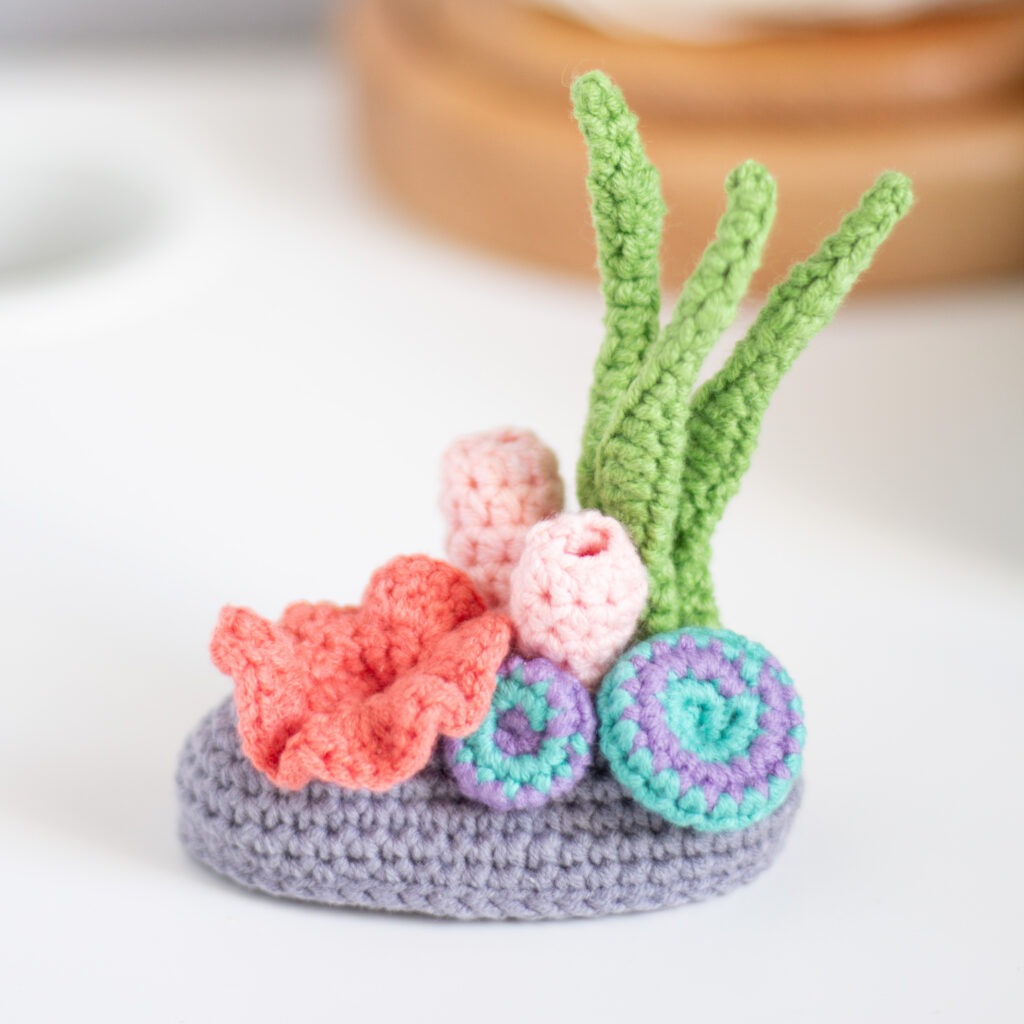
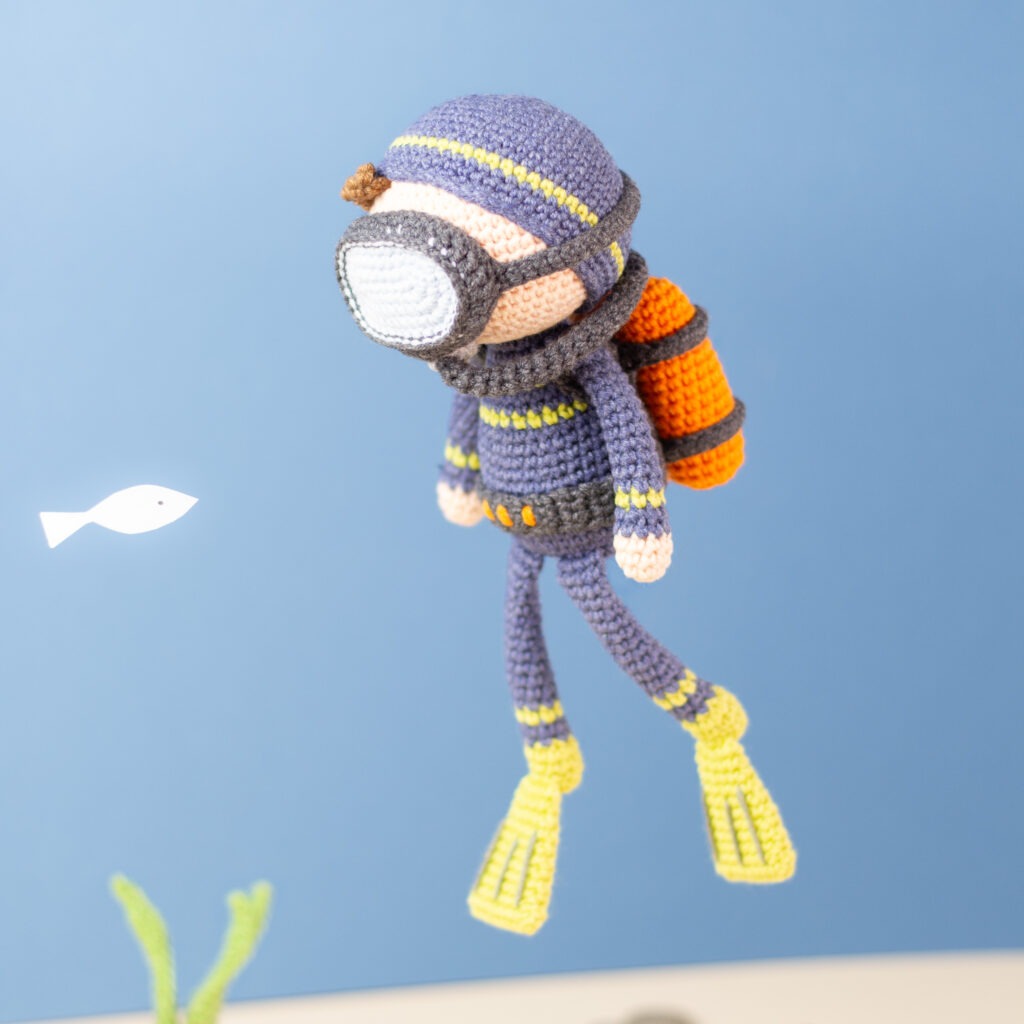
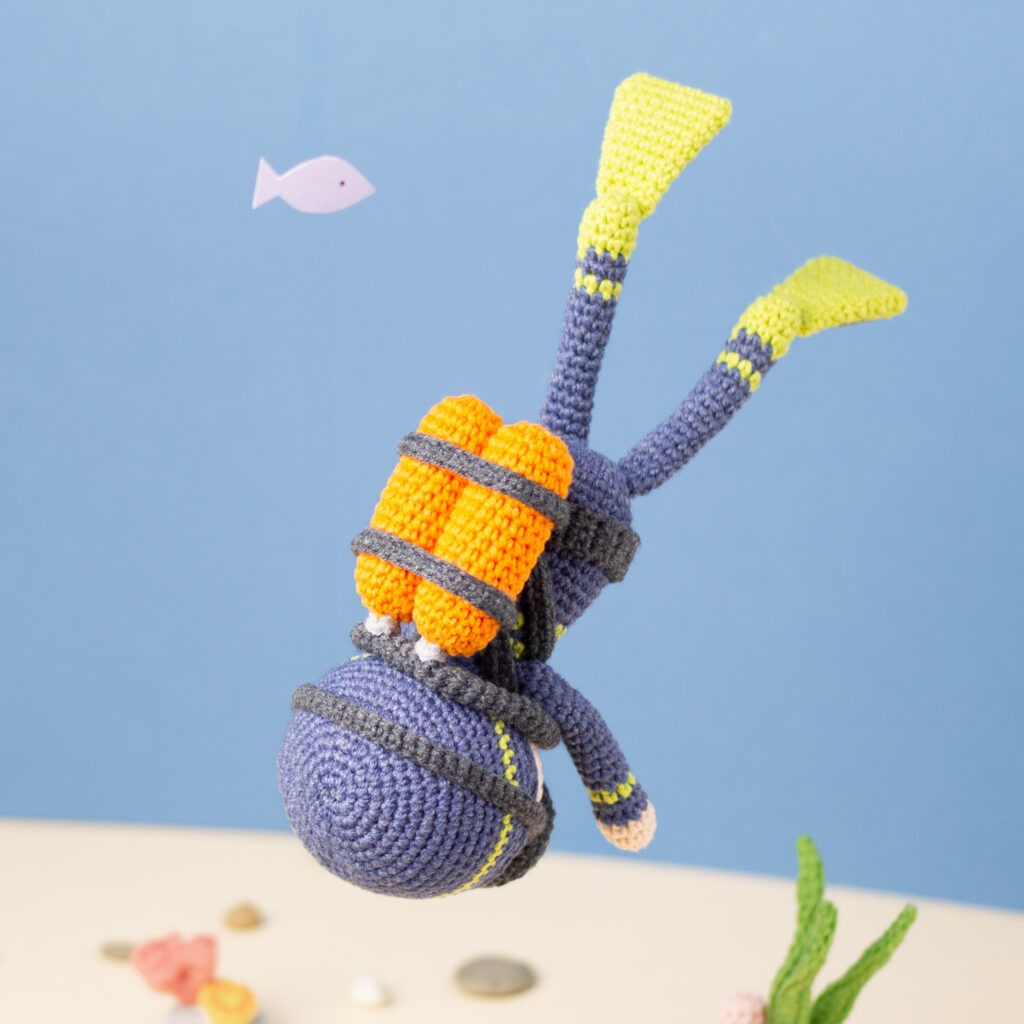
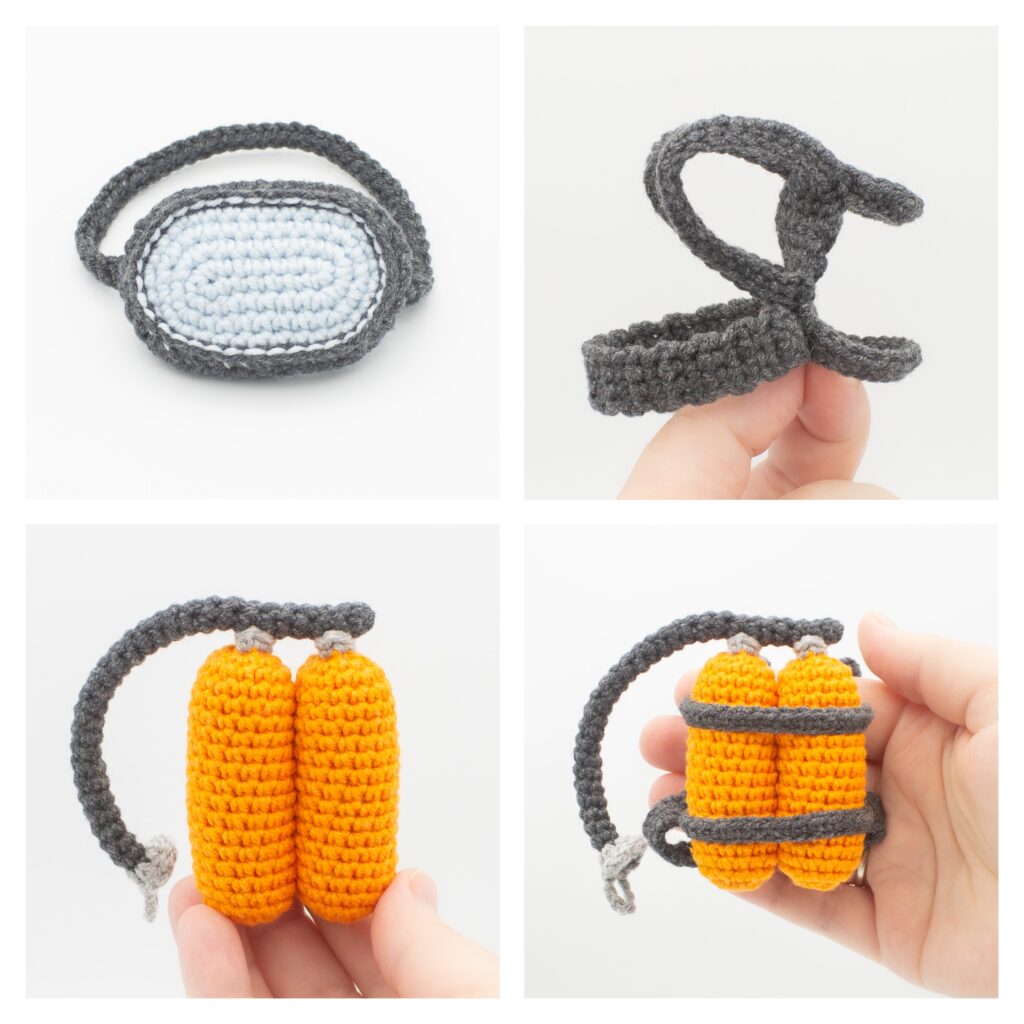
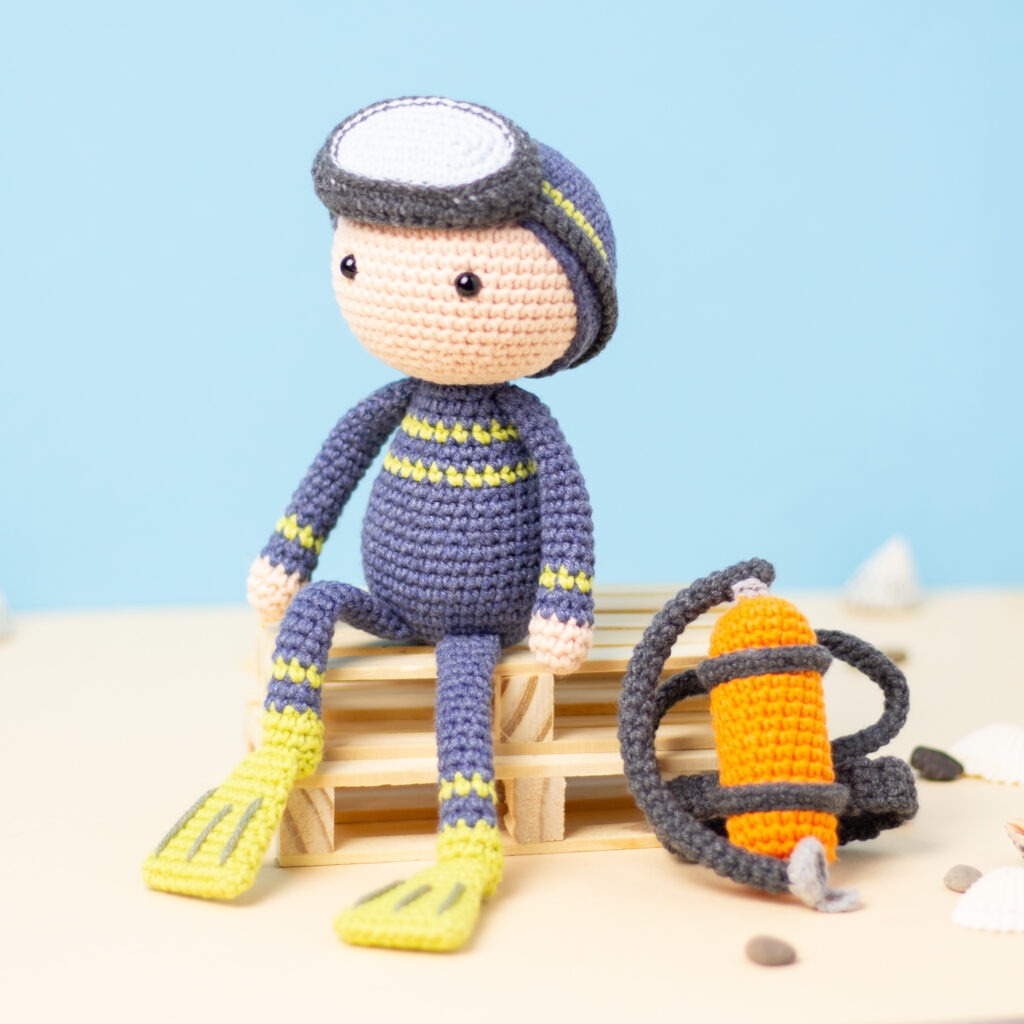

Free crochet pattern “Coral Reef”

Follow me on Instagram

2 comments
Sharon
These are so Cute!! Thank you xx
Planet PiuAuthor
You’re very welcome!