
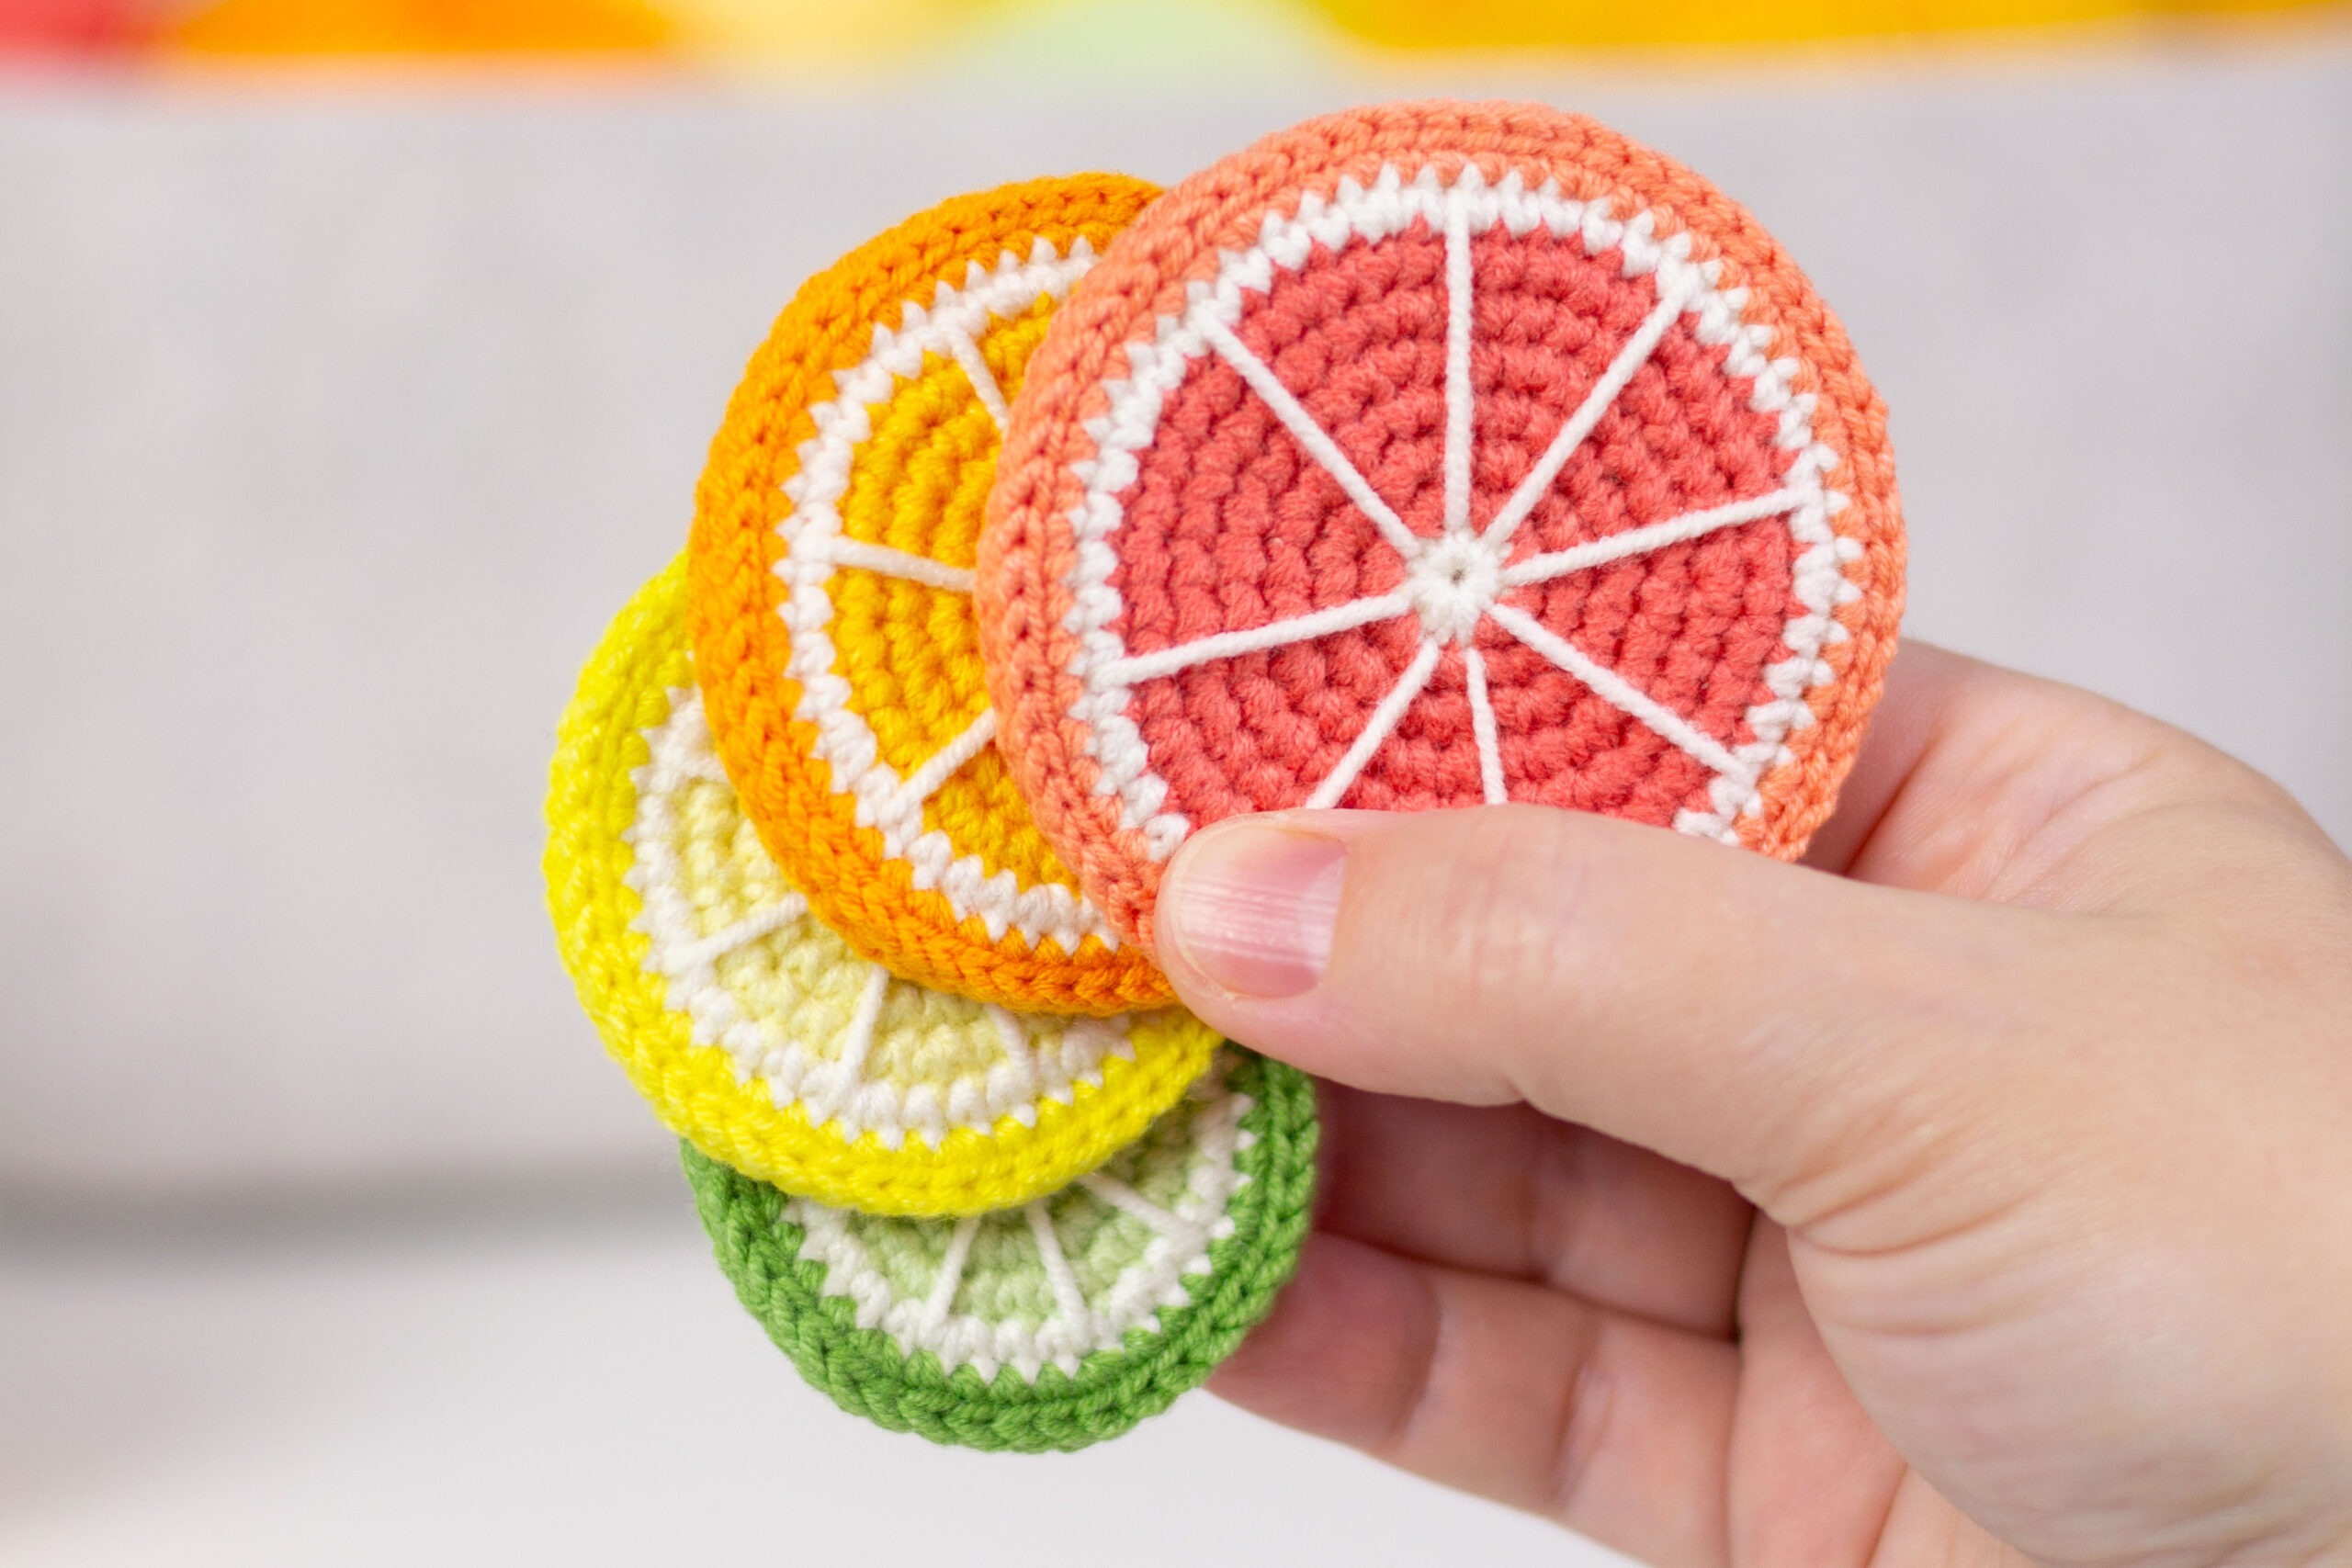
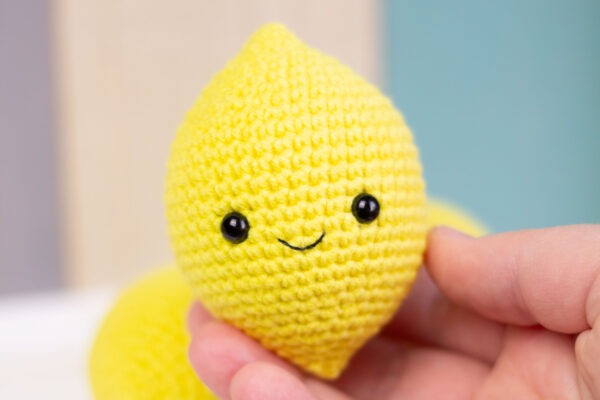
Free No-Sew crochet pattern “Citrus slices”
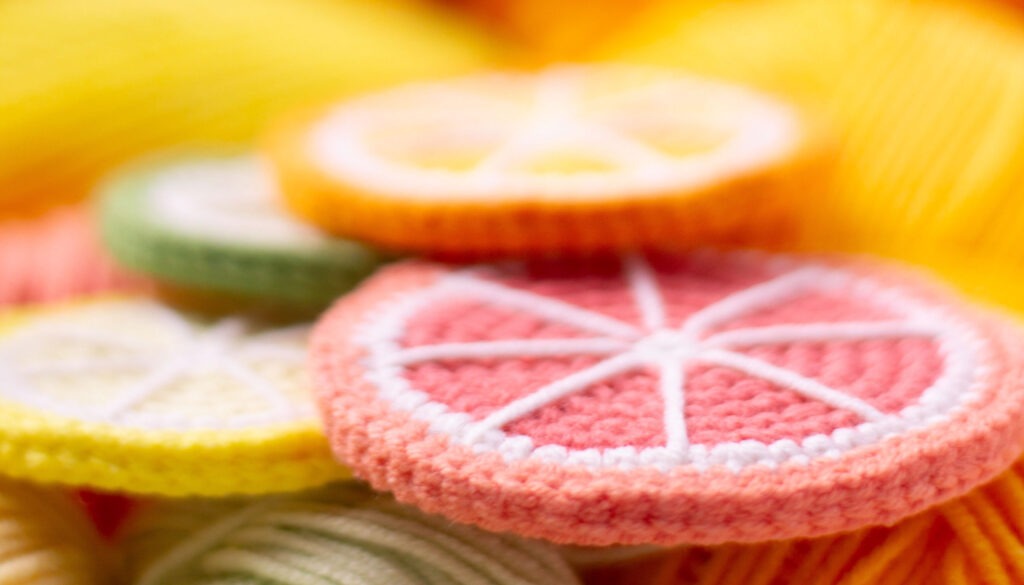
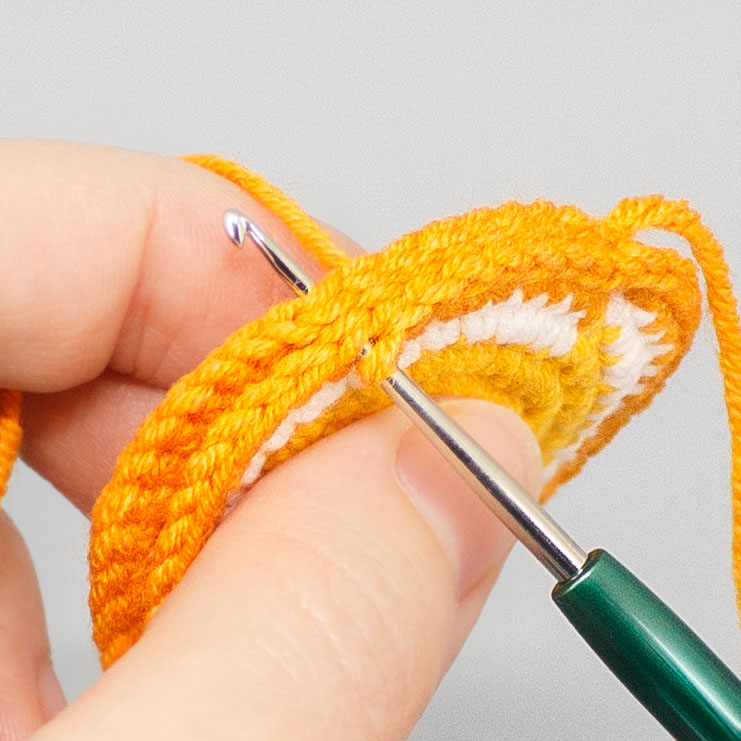
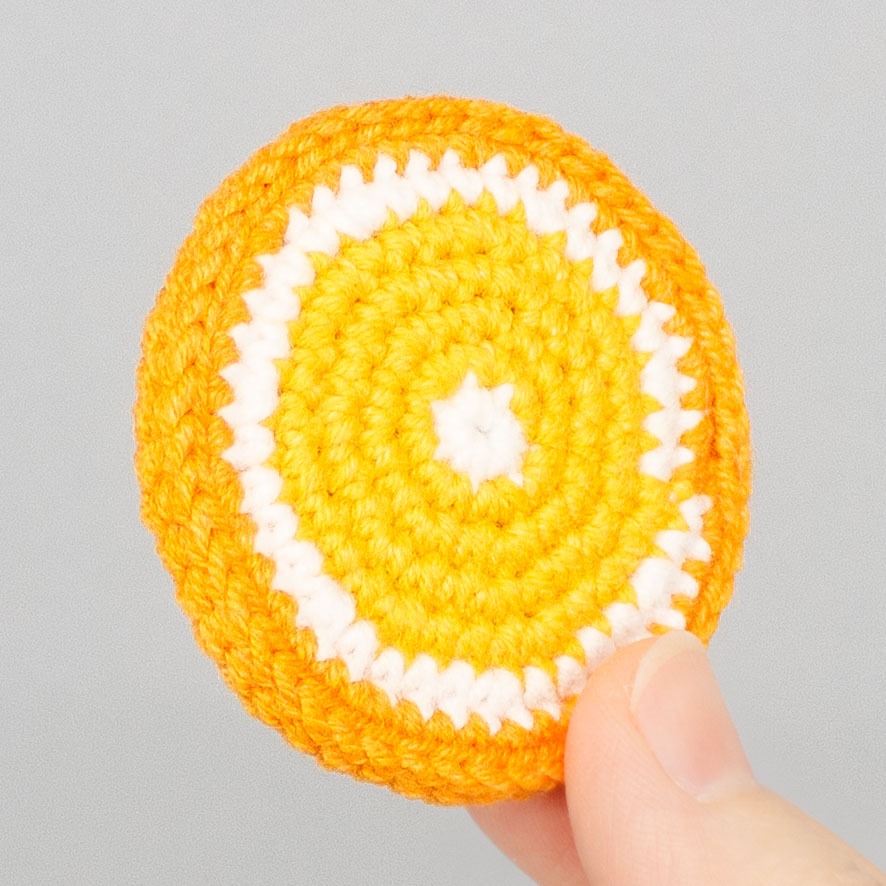


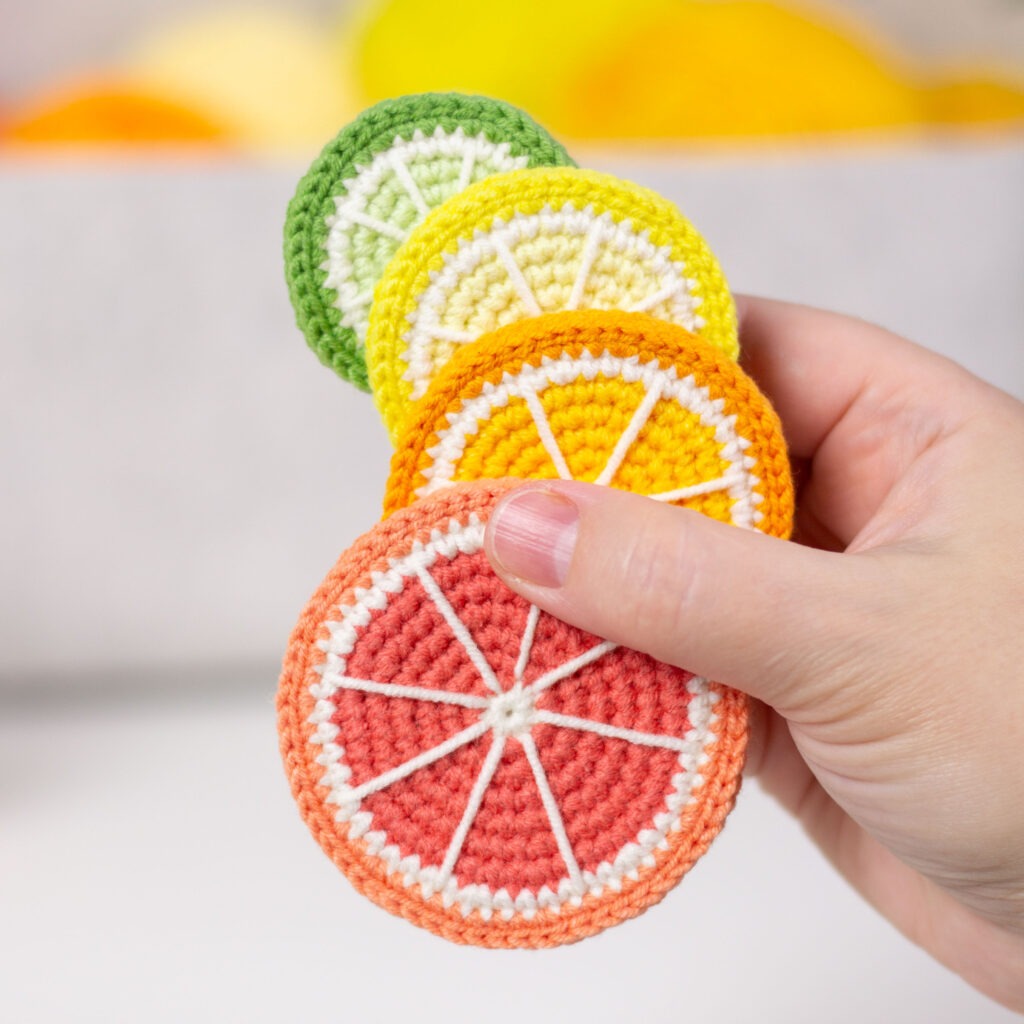
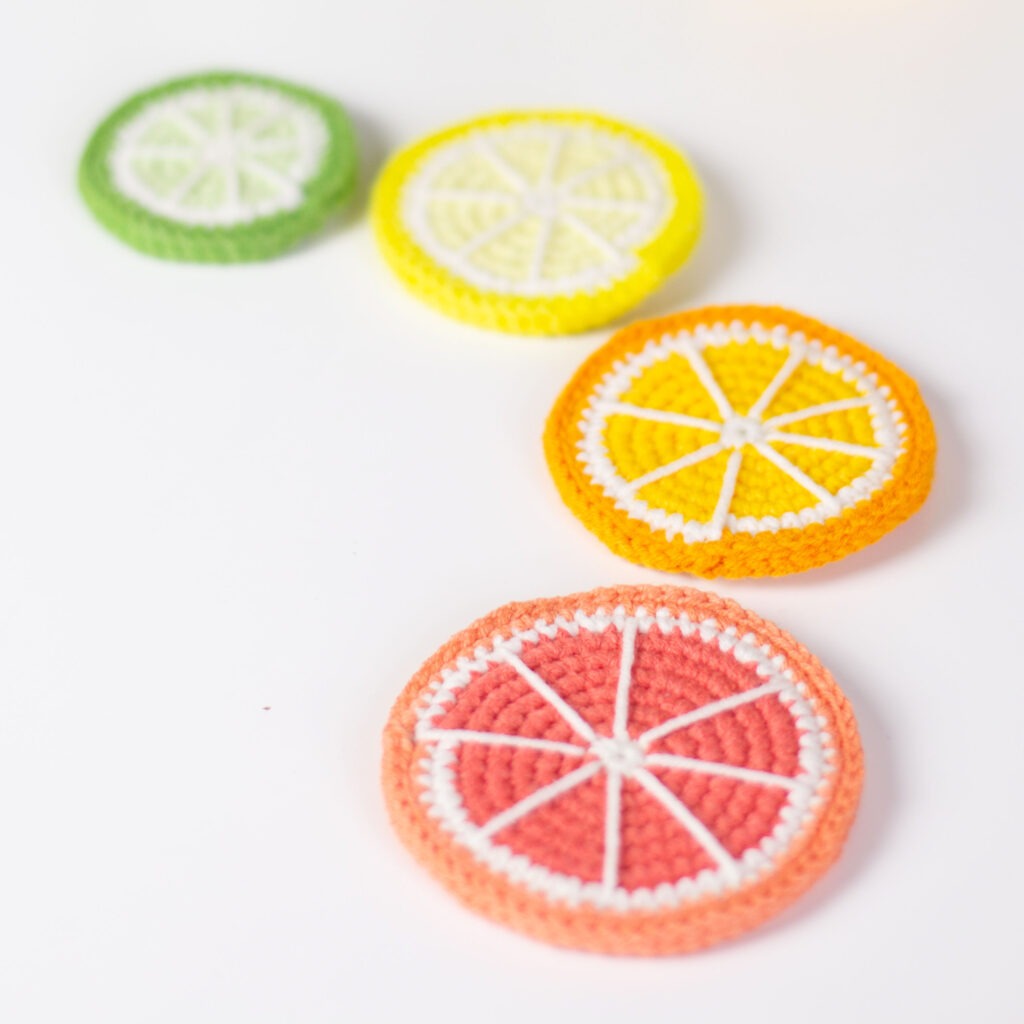
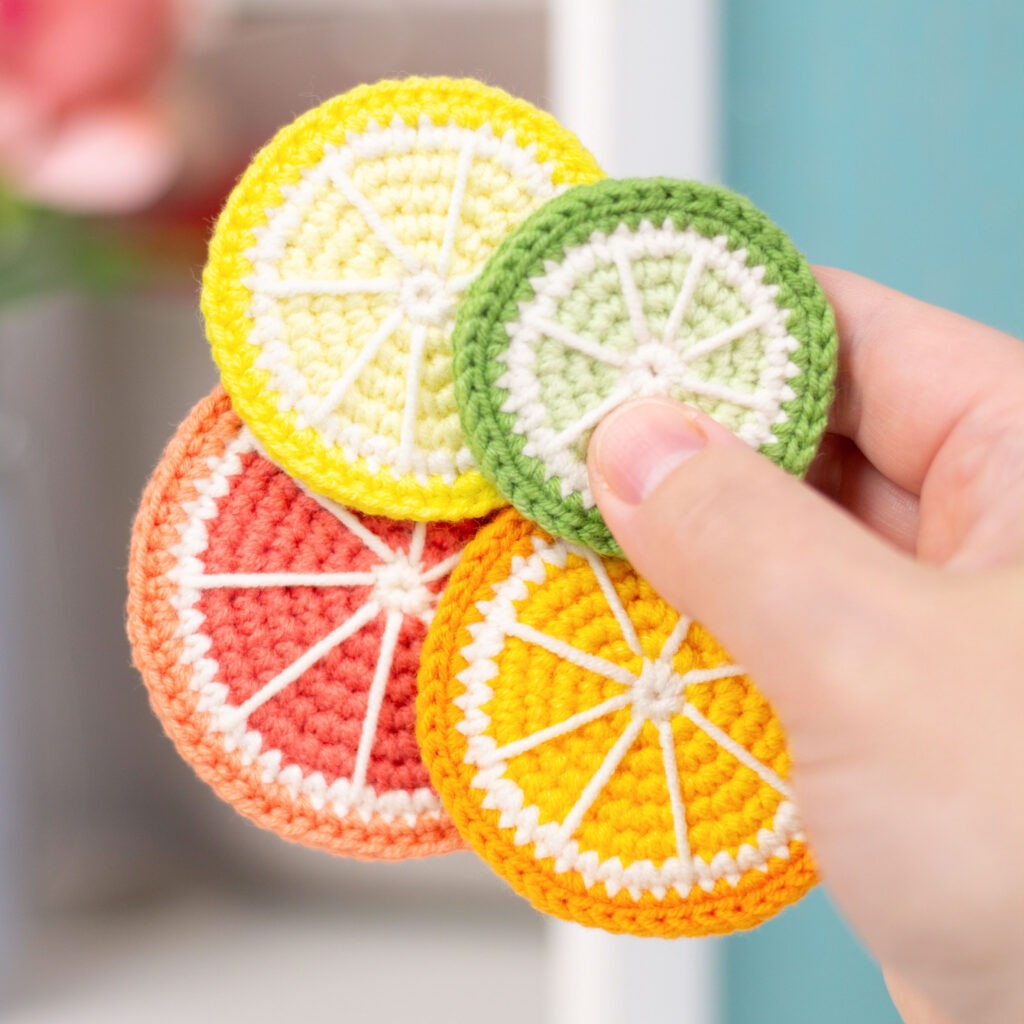
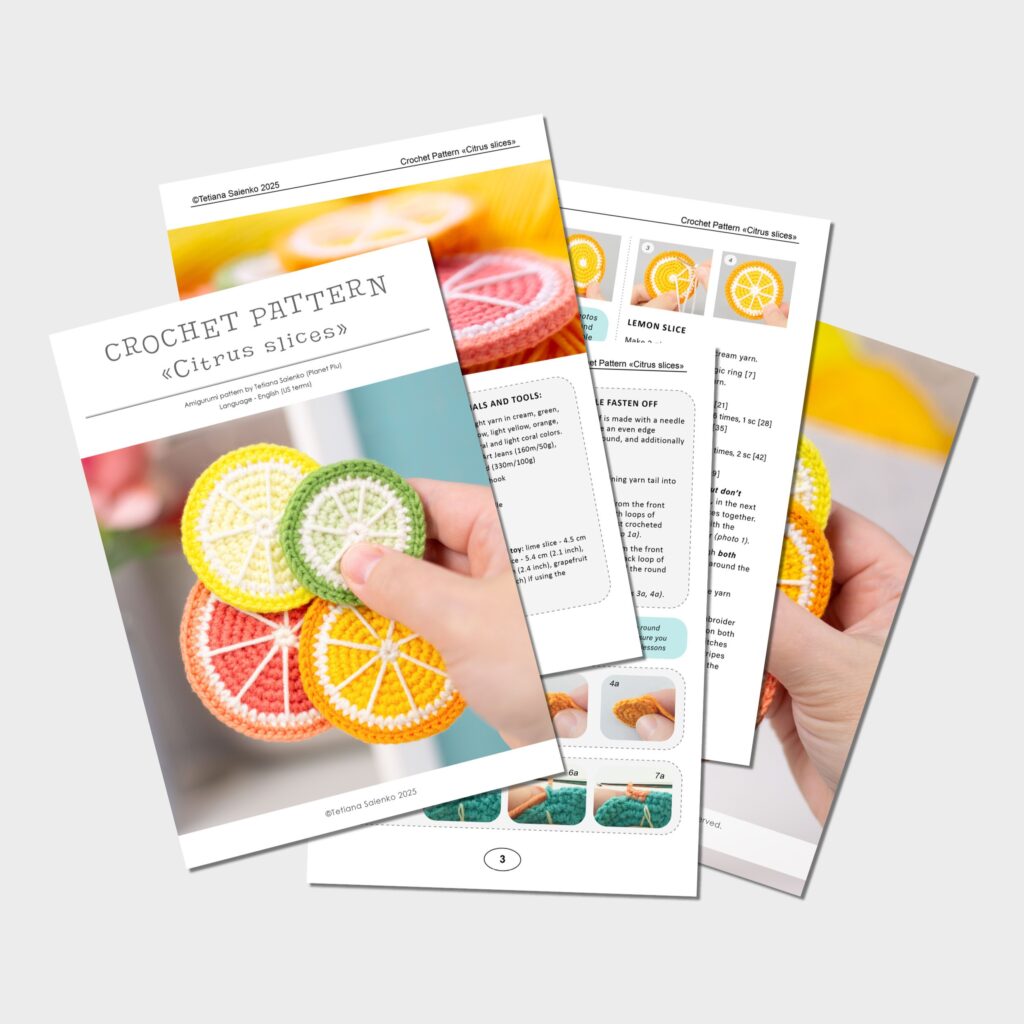

Free No-Sew crochet pattern “Citrus slices”


Follow me on Instagram


Add comment